Tests
Overview
In H2O Eval Studio, a test is a collection of documents (that is, a corpus) along with prompts that are relevant to the corpus, ground truth, constraints, and other parameters that are used to evaluate a RAG or LLM model. There are two ways how to create a test:
Add a new test
The following steps describe how to add a new test manually:
-
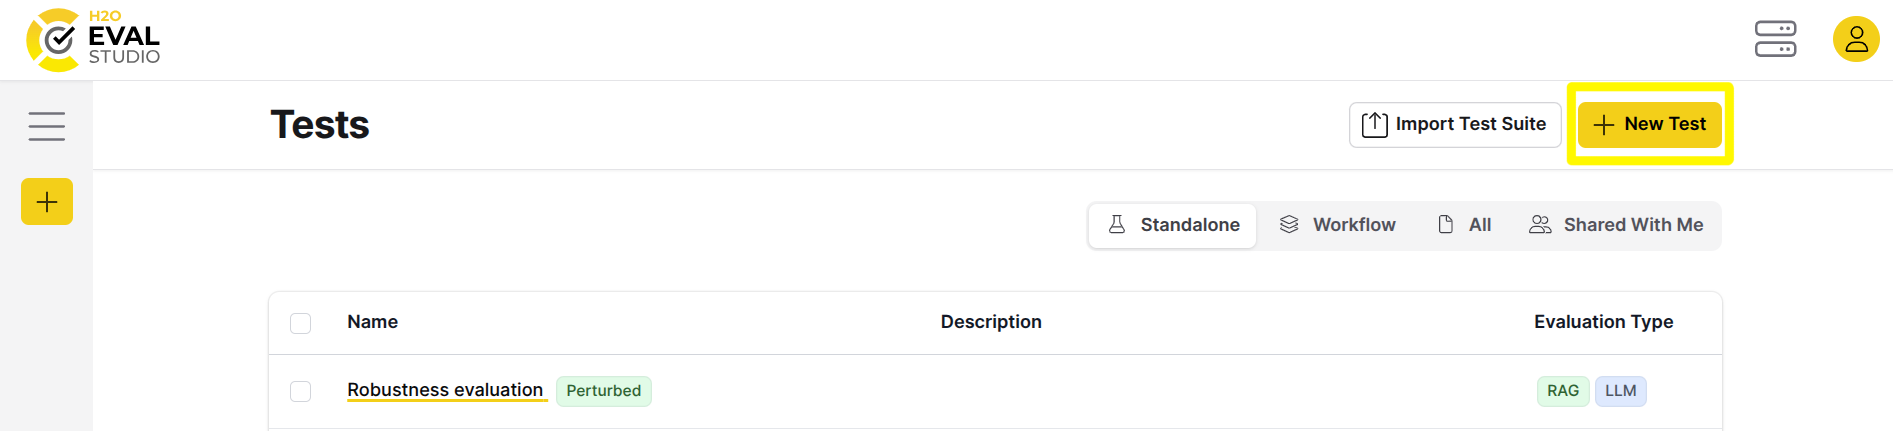
Click Test in the main navigation.
-
Click the New Test button.
-
Enter a name for the test.
-
Enter a description of the test.
-
Select one or more documents to associate with the test.
-
Click the Create button.
Add new test case
The following steps describe how to add a new test case to a test:
-
In the main navigation, click Tests.
-
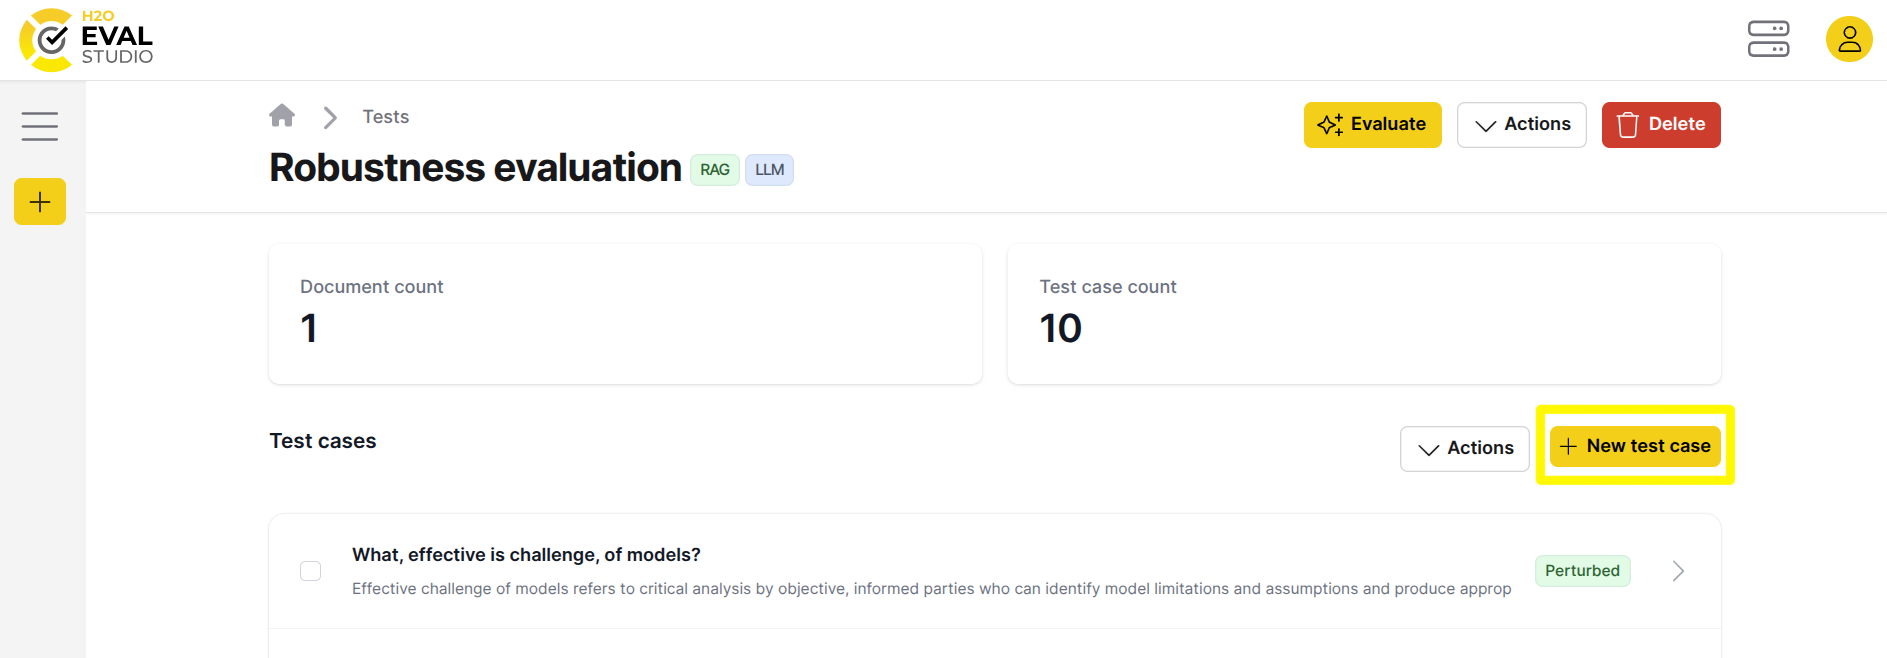
In the list of tests on the Tests page, click the name of the test you want to add a test case to.
-
On the Test cases page, click the New test case button.
-
Enter a prompt.
-
Enter the expected answer to the prompt entered in the preceding step.
-
(Optional) Enter terms or phrases that the answer to the prompt is expected to have - see conditions reference in the Text Matching evaluator documentation for more details. Click the Add button after entering each term or phrase.
-
Click the Create button.
New test case is created in the Test.
Import new test case from library
H2O Eval Studio provides a library with 1.000.000+ test cases which can be (re)used when creating new tests. The following steps describe how to import a test case from the library:
-
In the main navigation, click Tests.
-
In the list of tests on the Tests page, click the name of the test you want to add a test case to.
-
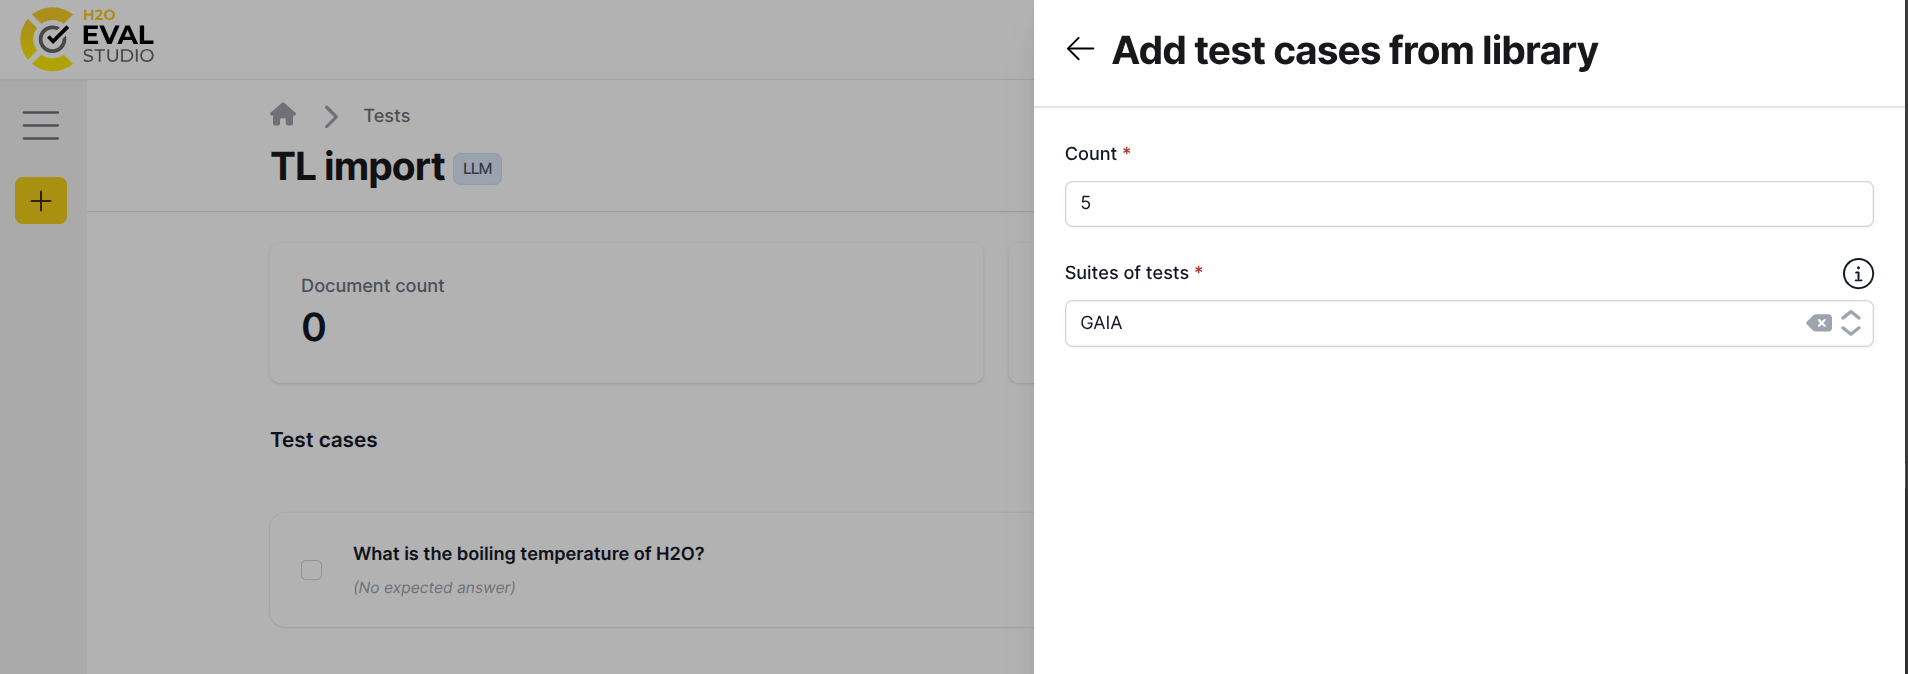
On the Test cases page, click Actions button and choose Add from library drop down.
-
Right side bar opens - choose the number of test cases to add (Count) and Test Suite from which to add the test cases.
-
Click Add button.
Test cases are added to the Test.
Import an existing test suite
To import a Test Suite in H2O Eval Studio, follow these steps:
-
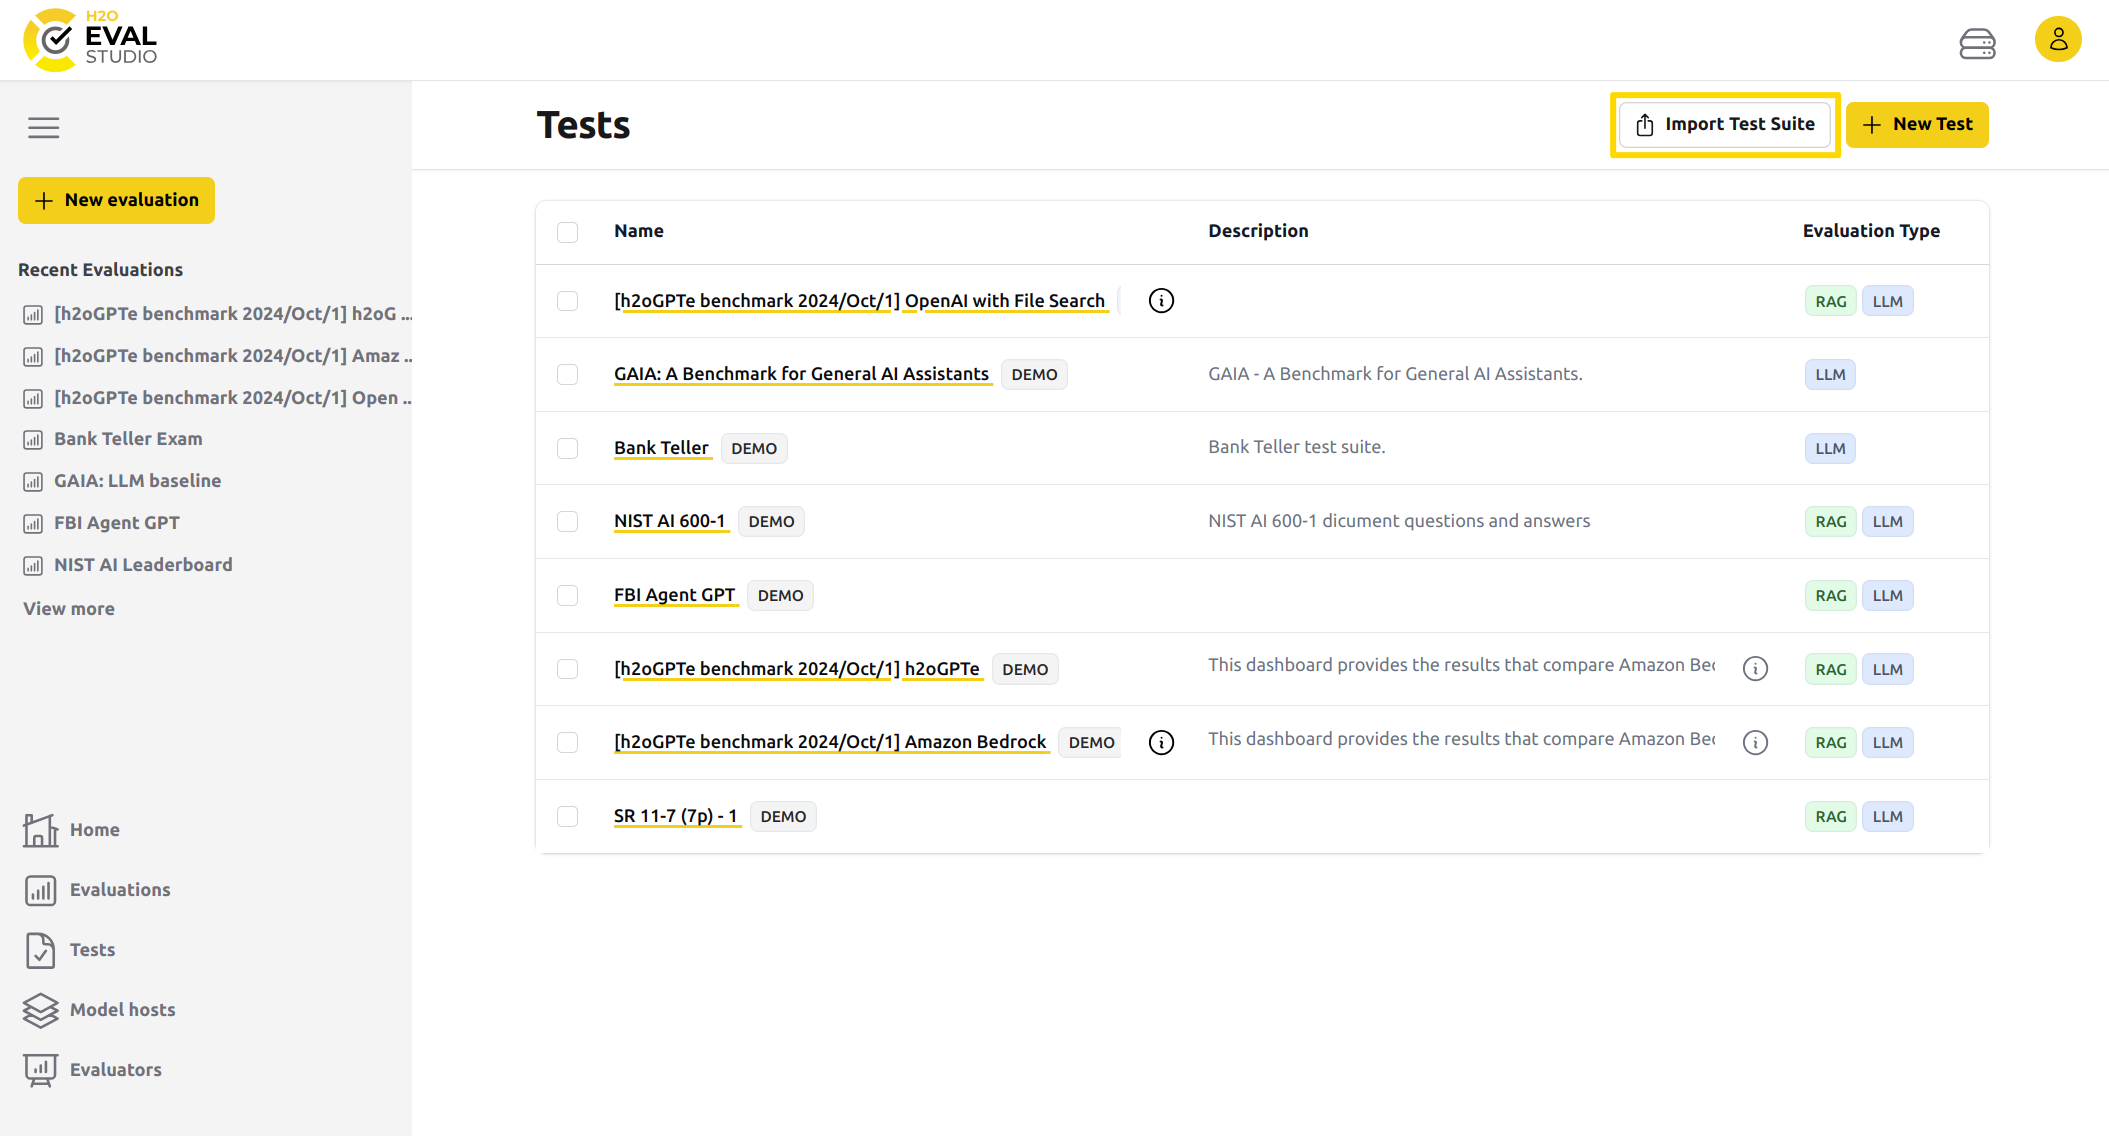
In the main navigation, click Tests.
-
Click the Import Test Suite button.
-
Enter a name prefix for the tests in the Test Suite.
-
Enter a description of the tests in the Test Suite.
-
Enter the Test Suite JSON or URL. The following is an example of how the Test Suite JSON should be formatted:
{
   "name": "Sample Test Suite",
   "description": "This is a sample test suite.",
   "tests": [
       {
           "documents": [
           ],
           "test_cases": [
               {
                   "prompt": "Sample prompt 1.",
                   "categories": [
                       "privacy", "security"
                   ],
                   "constraints": [
                   ],
                   "expected_output": "Expected output for sample prompt 1."
               },
               {
                   "prompt": "Sample prompt 2.",
                   "categories": [
                       "privacy", "security"
                   ],
                   "constraints": [
                   ],
                   "expected_output": "Expected output for sample prompt 2."
               },
               {
                   "prompt": "Sample prompt 3.",
                   "categories": [
                       "privacy", "security"
                   ],
                   "constraints": [
                   ],
                   "expected_output": "Expected output for sample prompt 3."
               }
           ]
       }
   ]
} -
Click the Import button.

- Submit and view feedback for this page
- Send feedback about H2O Eval Studio to cloud-feedback@h2o.ai